You will require:
- Adhesive – Kerabond Plus mixed with Isolastic 50 or Keraflex Maxi
- 10-12mm notched trowel
- Gauging trowel
- Clean Sponge
- Clean Bucket
- Spacers
- Optional: Sanded Grout, Sealer, Mechanical Fixing
Click here for Wall Cladding Installation Guide PDF_
- Ensure the back of the stone is clean and free of dust and other contaminants.
- Spread the adhesive using notched trowel, making sure there is at least a 2mm final bed thickness and full coverage of the stone surface.
- Each stone should be fully back buttered before attempting adherence.
- Work within controlled areas, to ensure the stone is applied promptly to the adhesive bed (refer to manufacturer’s specifications).
- To ensure that full coverage is being maintained, a sample stone piece should be removed, the adhesive coverage noted, and the stone re-laid accordingly.
- Sponge off any residual tile adhesive immediately.
- Once stone pieces are laid, they must not be disturbed for at least 24 hours.
- Care should be taken to ensure that vertical progression is appropriate (i.e. Don’t install too high too quickly).
- Depending on the style of stone to be installed there are numerous techniques, which can be used to achieve a certain look. Where a grout joint or coursing is desired, use tapered wedges or pre-soaked timber spacers. Ensure these are removed once the tile adhesive has set but is not yet fully cured.
- Please pay special attention to corner details, ensuring that the stone is never seen ‘floating’ on a wall. Corner pieces are made for most stone styles.
Cutting:
Ideally it is recommended that cutting be done using a bench saw with a wet diamond blade. The stone should be washed immediately after it is cut to avoid cutting paste drying and staining the surface of the product. Appropriate safety guidelines relating to silica exposure should be adhered to on the work-site.
Please Note
All work to be carried out in accordance with Australian Building Standards. Materials used in accordance with manufacturer’s specifications. All Substrate expansion joints to be mirrored into stone work. eStone Direct take no responsibility on the installation of material supplied. Refer to our terms and conditions https://estonedirect.com.au/pages/terms-conditions for more information.
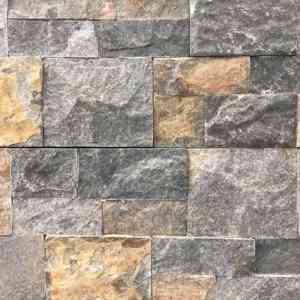
WALL CLADDING
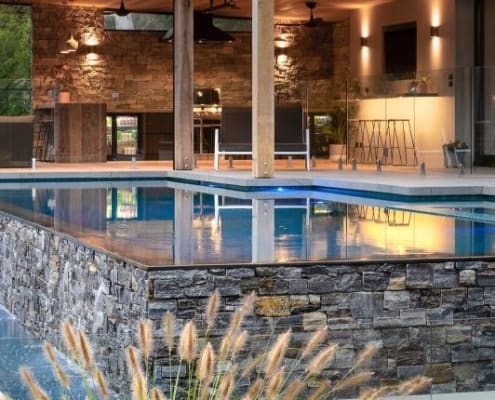
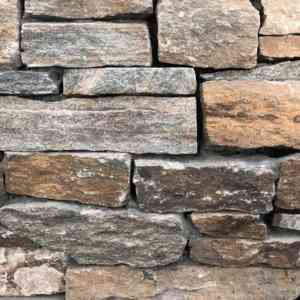
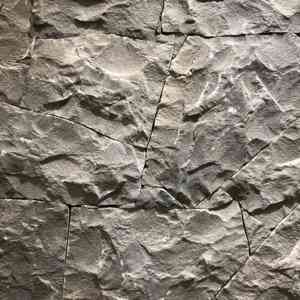
Ledgestone
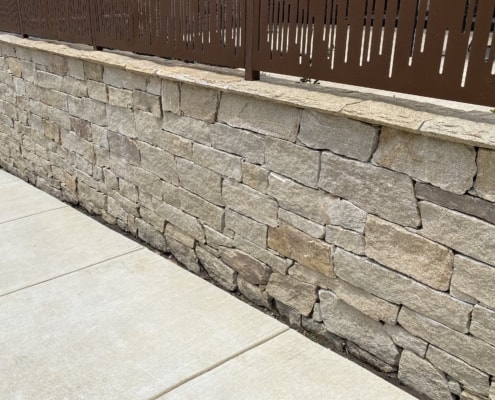
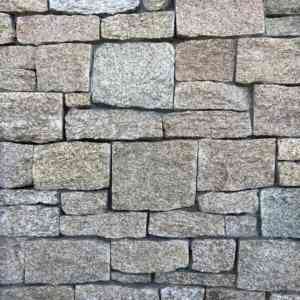
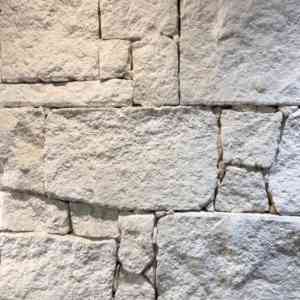
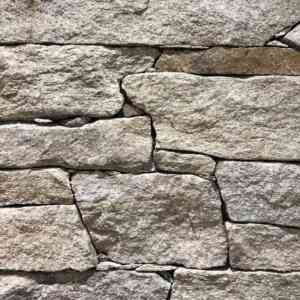
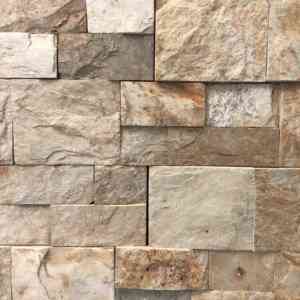
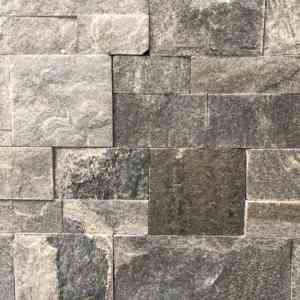
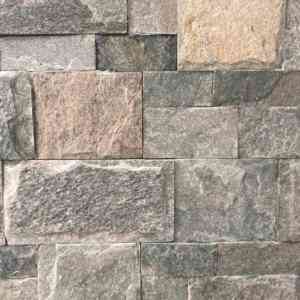
Loose Dry Wall
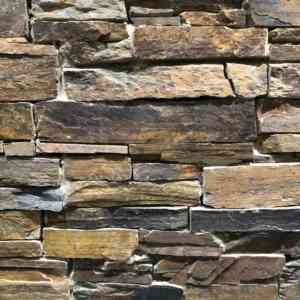
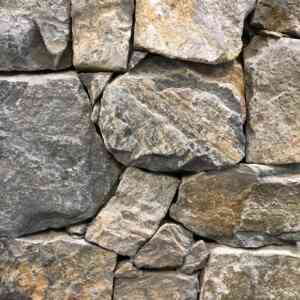
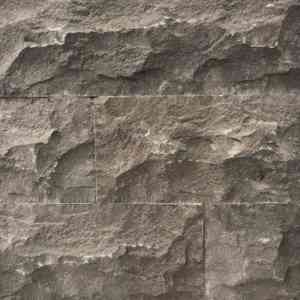
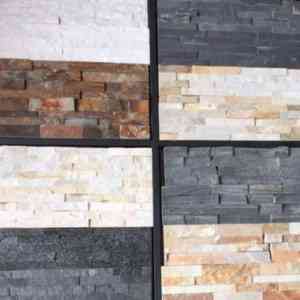
Stackstone
eStone Direct can also source wall cladding from around the Globe. Please talk to us to discuss your project today.

