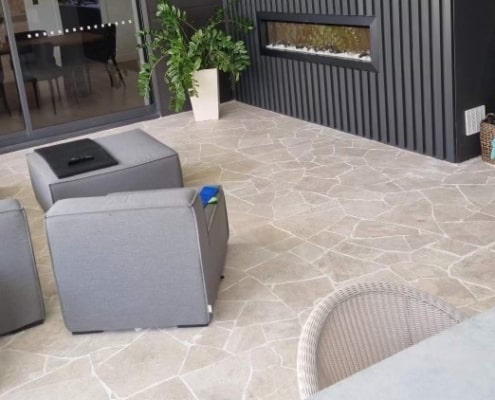
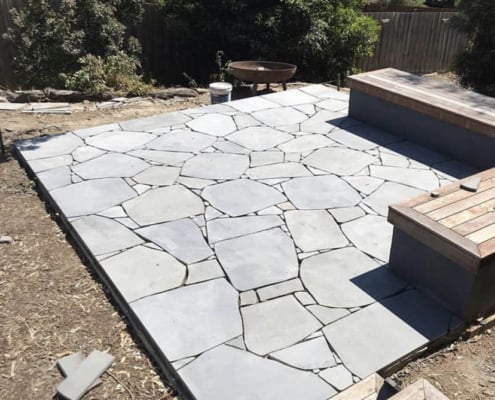
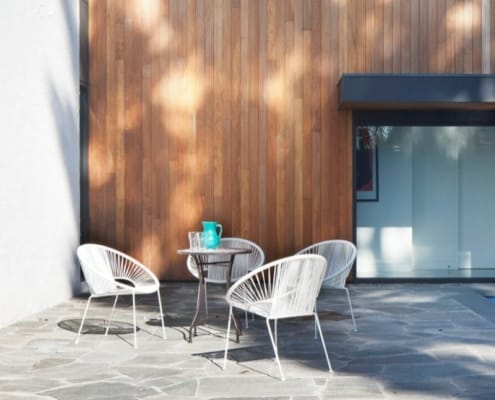
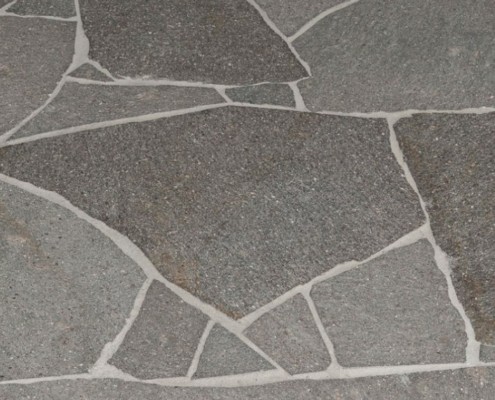
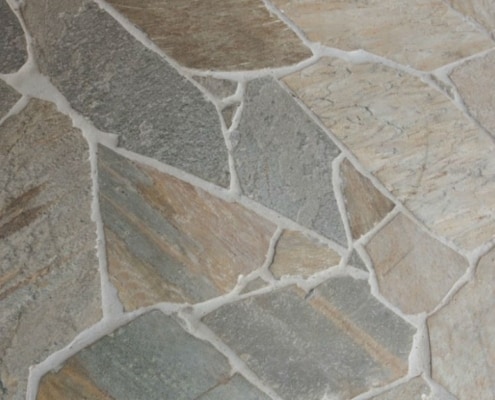
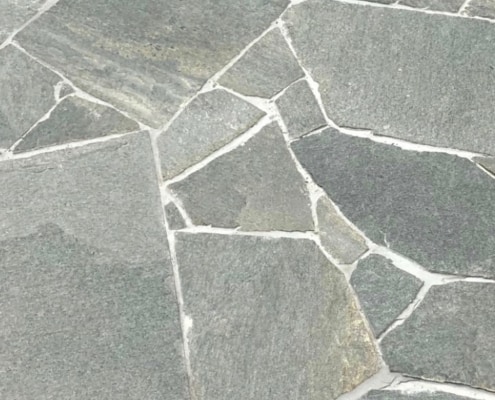
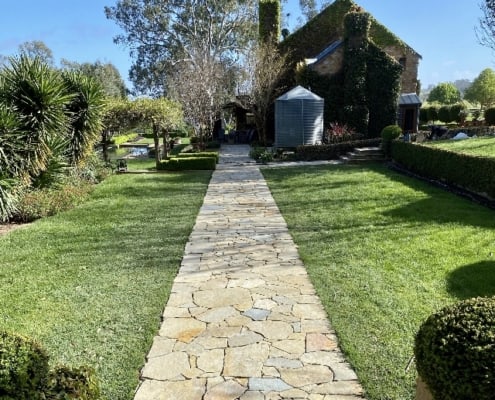
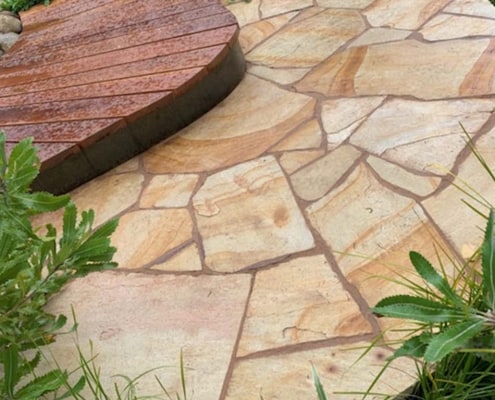
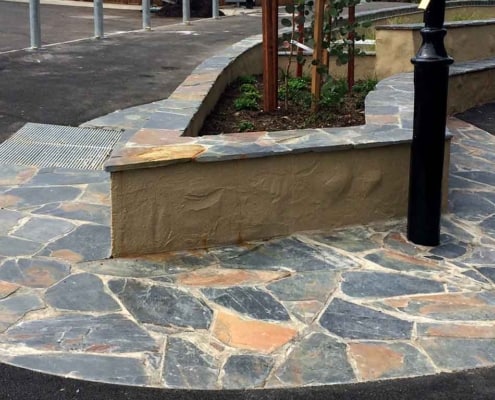
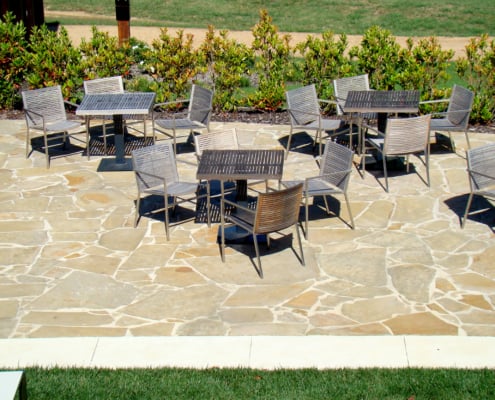
Crazy Paving, also referred to as Flag Stone or random paving, is an irregular shaped stone suitable for flooring and walling. It is an ideal choice for driveways, courtyards, garden paving, pool surrounds and pathways. At eStone Direct, we offer a large range of crazy paving material that will suit both modern and tradition styled homes. View our crazy paving selection here.
Below is a step-to-step guide to help get you started.
1. Crazy paving is usually laid on a concrete surface, however it may also be laid on a well compacted stabilised crushed rock base. The thickness of your stone will be determined by the base you are laying the stone on. For soft surfaces, or heavy traffic areas we recommend a minimum of 30mm stone.
2. Pay special attention to rainwater run-off. Some areas may require a slight gradient or drains installed to ensure successful drainage. If you are laying paving beside a building ensure the paving slopes away from the exterior wall.
3. Sort your crazy paving into three rough sizes (large, medium and small) and be sure to evenly place a mix of sizes.
4. Ensure the surface is clean and dampen the concrete on which the stones are to be laid.
5. Prepare a bonding slurry, and mix a batch of mortar thoroughly to a workable consistency (see below).
6. Apply the bonding slurry to the concrete where the mortar is to be placed and also paste evenly onto the back of the tile.
7. Place the mortar and crazy paving stones in their desired location. Remember to evenly mix through a variety of large and small pieces, ensuring to fill in any large gaps with trimmed or smaller pieces of stone. Leave consistent spacing of your joints – approximately 7-10mm.
8. Be sure to keep the surface of the stone clean at all times. Sponge any excess from the stones with clean water, remembering to change the water frequently.
9. Leave the crazy paving to dry and ensure enough time is allowed for the mortar to cure. Approximately 24-48 hours.
Grouting :
It is recommended to use a high-grade pre-bagged grouting compound that is suitable for the application.
1. Dampen the paved area with a clean sponge.
2. Spread grout into joints using a grouting trowel, removing any excess grout.
3. Allow some time for the grout to begin to cure (it should visibly begin to dry on the stone surface).
4. With a damp sponge, wipe across the joints (not along the joints), ensuring all excess grout has been removed from the surface of the stone.
5. Allow grout to properly cure before thoroughly cleaning with a high pressure hose and cleaning agent.
Recommended Mortar mix:
3 parts blended coarse wash sand (as per Aust. Standards)
1 part GP cement
1 part clean water
Note: additional water can be added to achieve the desired consistency.
Recommended Bonding slurry mix:
Cement and water mixed into a workable paste or; Cement and bonding agent mixed into a workable paste.
Any further questions? Contact our team at eStone Direct.
ALL TIPS AND GUIDELINES SHOULD BE TAKEN AS GENERAL ADVICE AND SHOULD BE USED IN ADDITION TO THE RELEVANT AUSTRALIAN STANDARDS. THESE TIPS AND ADVICE IN NO WAY DO THESE REPLACE THE SERVICE OF PROFESSIONAL CONTRACTORS/ CONSULTANTS.

